
I was inspired by the storage from Kate over at Outnumbered with her toy room makeover. Didn't she do an amazing job!
Here is a bad before - I forgot to take a before - before I started painting.


Then I got painting:


Then I finished the closet:
Here is the before.


Then I added the closet:

I added a few signs that I made with my cricut.

Then I got all the boards cut - and then painted....

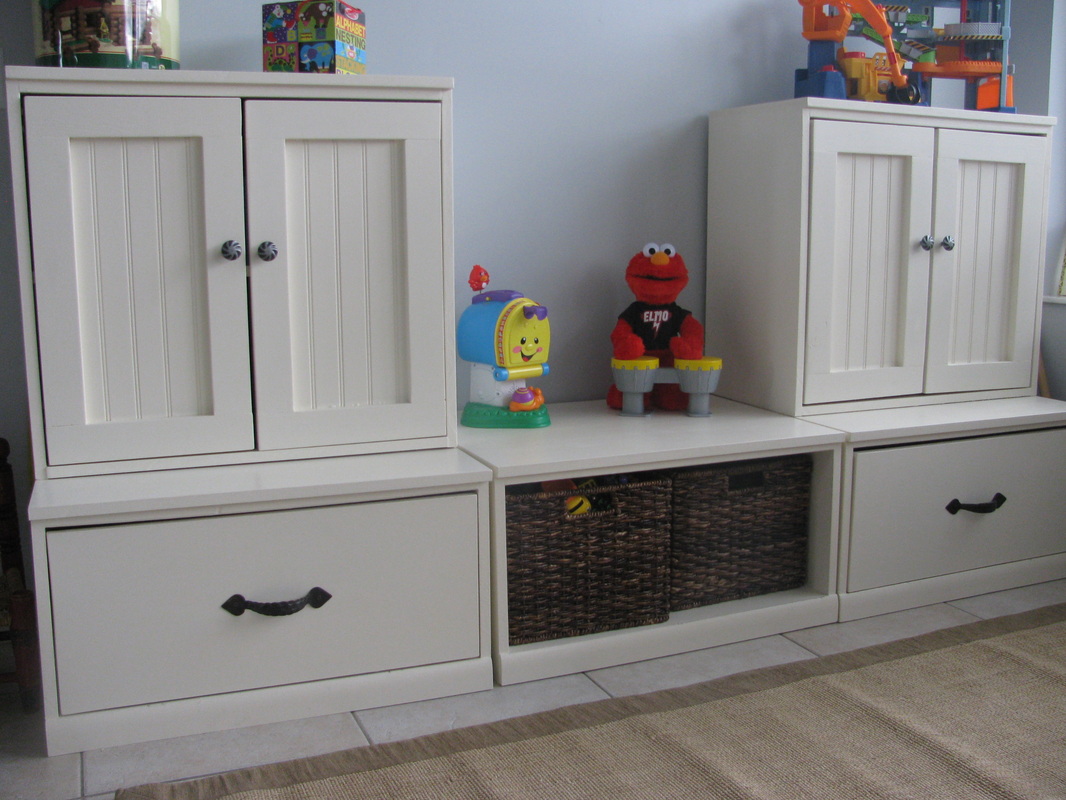
Then I put it all together!

They each have the cubbies storage inside.


He has a little reading nook - I made the shelfs too - guess from who - yup - Ana White - I just made them shorter to fit.


I made the step stool from Ana White's plans here:

I made all three sighs. The Truck, Bus and Car, the Star Wars and the Alphabet. I spelled out M-I-K-E-Y in orange.


I have to say - I am super proud of his room! The investment for the closet was around $120, I had paint on hand. The investment for the storage for the toys was about $220 - that included the bins, sheets of plywood (I used cabinet grade plywood - I wanted it to last), wainscoting, the totes, hinges, and knobs. It took a little over a week - I painted it before it was assembled, and sanded in-between each coat of primer and paint.
So let's take a look again at the Before and Afters: