Saturday, April 9, 2011

Personalized Baby Blanket

Do you want to learn how to sew a custom blanket for someone?
First I cut out the letters.  You can do it a couple ways.  If you have a die cutting machine, you can use that (i'll do a tutorial on that later).  My blade is getting dull - so I cut out the letters on Freezer paper on my Cricut, then ironed it on to my fabric - and cut them out.


Line them up on your blanket.

Then grab your Heat N' Bond.  This stuff is awesome!

You iron it on to the letters.  I cut mine into small strips - just enough to secure it to the blanket with out having to use pins.

Now - before you iron on the letters - make sure you peel off the white part.


Then line them up and grab your Iron.


Iron them on nice and good. 

Next - get the thread that you are going to want to sew the letters on to the blanket.


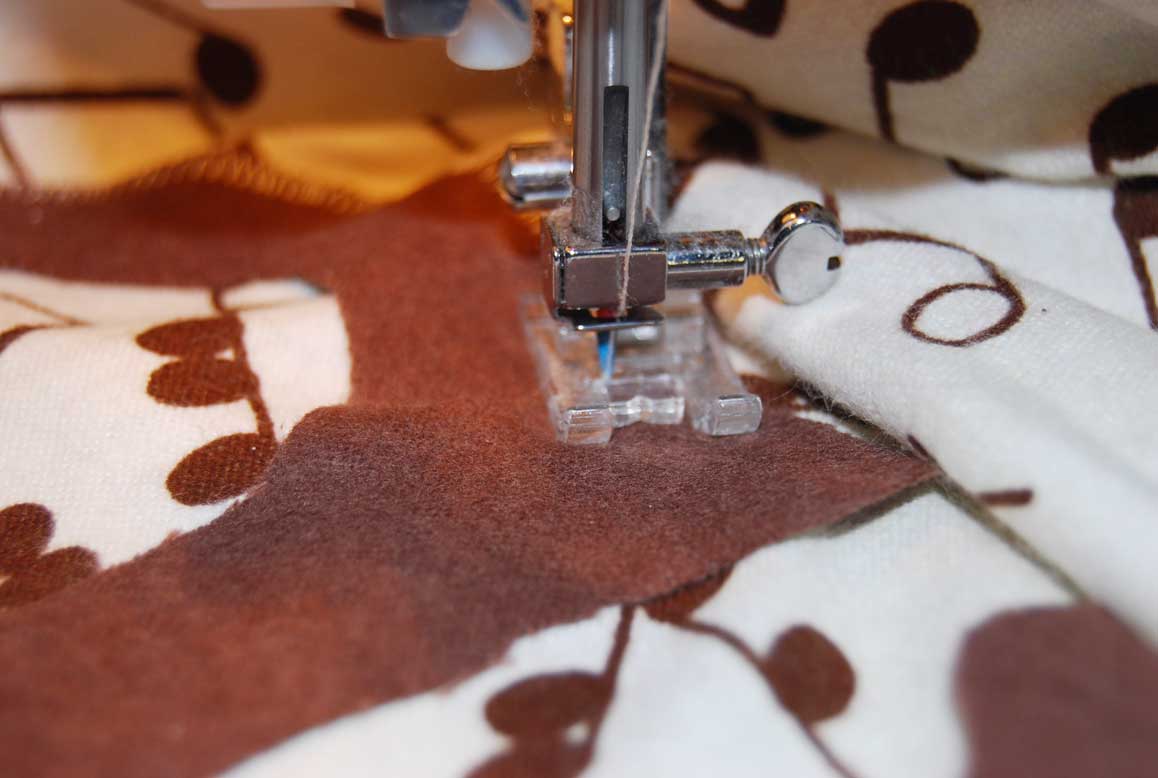
Set your machine.  You are going to want Zig Zag - and a tight stitch - probably 1 or 2. 

You are also going to want the widest width - mine was done at 5. 

Then line up needle so the right side where the needle goes down is right on the outside of the letter and the blanket.   You are going to just outline the letter with your zig zag stitch.

Now - when you are getting to a corner.  Keep your needle down, lift up your foot, and rotate, put down the foot, and then continue sewing.  Just like you do when sewing your blanket and you get to a corner. 

When you are done sewing your letters on - sew it like you would a blanket.  Remembering to leave an opening to flip it inside out.  And check and double check your right sides are together.

Pin your corners well.  Minky can be slippery. 

I pinned mine right on my ironing board because it was a smaller blanket.  I just went across the top, and then down the sides.   You will sew around the outside - trim the corners - then top stitch - just like my other baby blanket tutorial here.

Now - brace yourself.  I finished sewing and noticed a BIG FAIL - I started laughing and thought - wow - this is so typical of me!  See anything wrong with this picture!


Yeah - my a is totally backwards!!!!  Actually - it's upside down - so - when you are ironing and then sewing - double check all your letters and placement.  This is for my new baby niece for her baptism this weekend.  My brother can just laugh at me :)


Here is the up close detail of the letters.

Let's on the good one - that I didn't line the letters up the wrong way.

Hope you will take on a project like this - they come out super cute and aren't that bad to make.  I used flannel on one side - and a minky side on the other.

Tip Junkie handmade projects

Friday, April 8, 2011

Teacher Appreciation Gift

Next week is “The Week of the Young Child”.  Our daycare takes one of those day's to appreciate the hard work that the teachers do for our youth.  (Teacher appreciation week is May 2 – May 6 of this year – so this could be a great idea for that!).

So we were asked if we could take a minute to write a thank you for our children’s teachers.  I have three kids that are in the daycare.  My oldest has 5 teachers in and out of her room, the others have 2.  So that is 9 teachers.  But – then I got thinking about it, and there are far more people in that building that I would have to thank above and beyond the day to day teachers.  My total, 13! 

So – this is what I did.
I made some cute bags.  It is really simple and easy.  I will try and get a tutorial up this weekend.  The only material you need is 2 pieces of 8 ½ x 11 pieces of paper, and some scraps, and ribbon.  So my cost – free!
Then inside – I found a really cute free printable at Itsy Bitsy Paper here.  And I got different color peeps. And put them in a snack bag and stapled them (total cost probably around $4 for all). I was going to do the bunny peeps to match the topper - but they only had one color of the bunnies, and I wanted a rainbow of colors.

Then the letter – I had a bunch of pre-made handmade cards. (Now I am thankful I get so obsessed with making a lot of things – it comes in handy!).  I wrote a special note for all 13 people.  I hurt my right thumb last week – let me tell you – by that 13th letter I could hardly move my hand!
Overall – I think they turned out super cute.  And it took a little less than 2 hours on and off to get all 13 done.  I dropped them off this morning to the head of the center.  The look of appreciation on her face - priceless.  Next week I will make cake pops for the luncheon.

Don't forget in May to appreciate your teachers!  Would love to see your ideas.

Tuesday, April 5, 2011

Craft Room re-do - sewing section

Here is a sneak peak to see what it went from and what it went to. 


So let's embarrass  myself for a moment - shall we....This is my before basement.  Yes - can you believe I was able to do anything creative in this space!


There used to be another table here - I moved it before I took the before pictures.

So - on to the afters.....

The big piece of furniture is actually my kids changing table. I turned the other piece of furniture into the dressing center here.

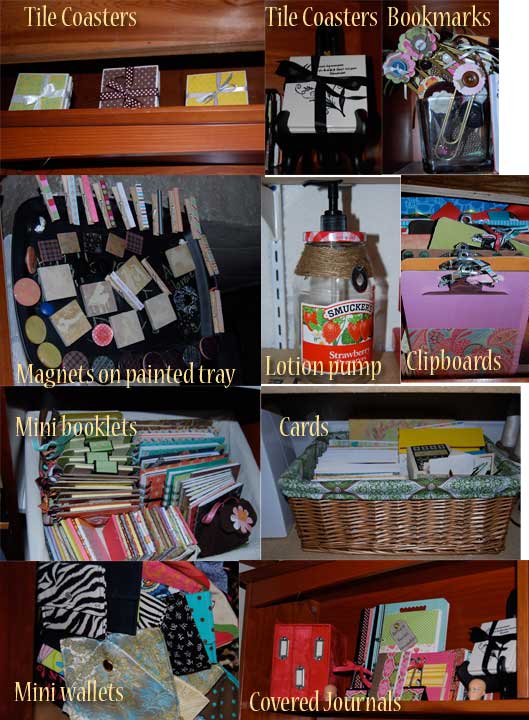
I moved it into this section for a prettier storage solution.  I think eventually I am going to paint it a fun color and make it pop out a little more.  I am storing all of my finished crafts in it - I'll go into that in a little more detail in a minute.

I got this at Michaels when those Jet Max stuff is 50% off.  Stores all my everyday items in it. 
On these shelves I have the photo box storage.  I have items like glue gun, embroidery threads, cut out papers from the cricut, random stuff.

I have three of these.  They are all labeled.  Makers, stickers, glues, office supplies, notebooks, ect. 

Here are some other images.  The first image is most of my sewing stuff.  I have the plastic storage with drawers.  There are sewing accessories, needles, scissors.  There are started project, pins, ect. (You can see in the corner by the changing table I have my ironing board, hanging on it is a bag with the the Iron and startch). 

Here you can see the photo boxes.  And then the other picture is all my ideas - binders full of ideas, books and magazines. 

The piece of wood with all my thread - I made that a while ago - should probably paint it - but it is already screwed to the wall.  Then there are all my jet max cubes with paper and paper supplies in them. 

 
A) All my buttons in jars - sorted by color - or close to it
B) Storage in the dresser - they are smaller drawers to hold items.
C) The Photo Boxes
D) More Buttoms
E) Pins in a jar
F) Beads in a jar
G) More storage
H) Prima flowers in a cute jar

Here are some of the finished items on the dresser.

Hope you like my basement craft room.  It isn't my dream craft room - but for under $100 to transform my space - I'll take it!  Be sure to check out the other area that I did in my craft room here.

Linking up to these parties: Todays Creative Blog

Sunday, April 3, 2011

I Heart Faces - Peoples Choice challenge

I heart faces challenge - People's Choice.
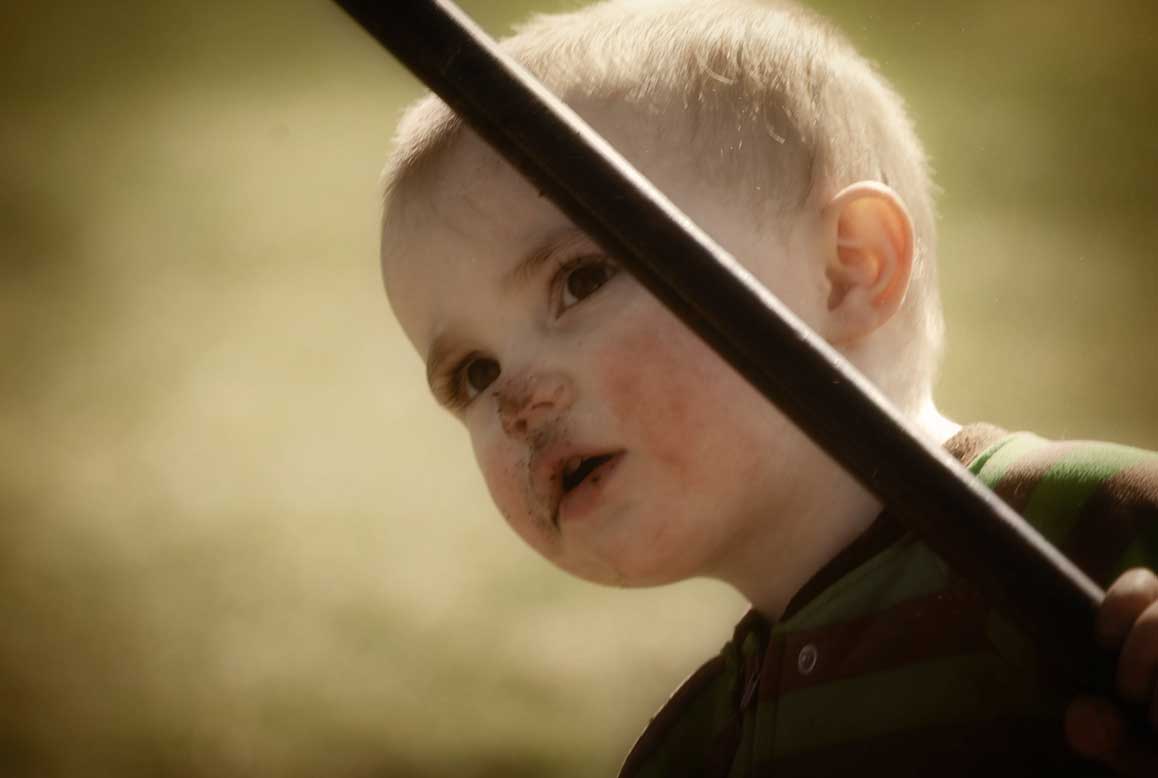
This is of my little man Mikey on Saint Patricks day - rockin it the Irish way!

LinkWithin

Related Posts Plugin for WordPress, Blogger...