

Sorry I have been MIA for a while. With everything our family went through last week - I have just been wanting to spend every second with my kiddo's.
I made my kids teacher appreciation gift last week - here is a quick tutorial on how to make the bags. They really don't take long - and you can dress them up a lot of different ways.
First - get two pieces of paper. I used 8.5 x 11. Cut both at 8 inches square. (This makes a bag that is about 4 1/2 inches wide and 6 1/2 tall, you can make it as big or small as you want).

It will look like the below, an 8 inch square.

Then you scor your lines. I messed up the first time - I had to re-cut my squares. You are going to scor both squares the exact same. First scor at 1/2 inch,

Then at 1 1/2 inch.

Then at 2 1/2 inches.

Rotate the paper once. Then score at 1 1/2

You will fold it like an accordion. That little flap on top - that will hold your sides together. You want that to be folded up.

Then the one scor - that was done at 1 1/2, this is your bottom gusset. Fold that too.

Then you are going to cut and trim. On the side that has three scor lines - you are going to cut out the 1/2 by 1 1/2 inch little piece.

Then you will cut a little slit on the 2 1/2 inch scor line - up to the 1 1/2 inch scor line.

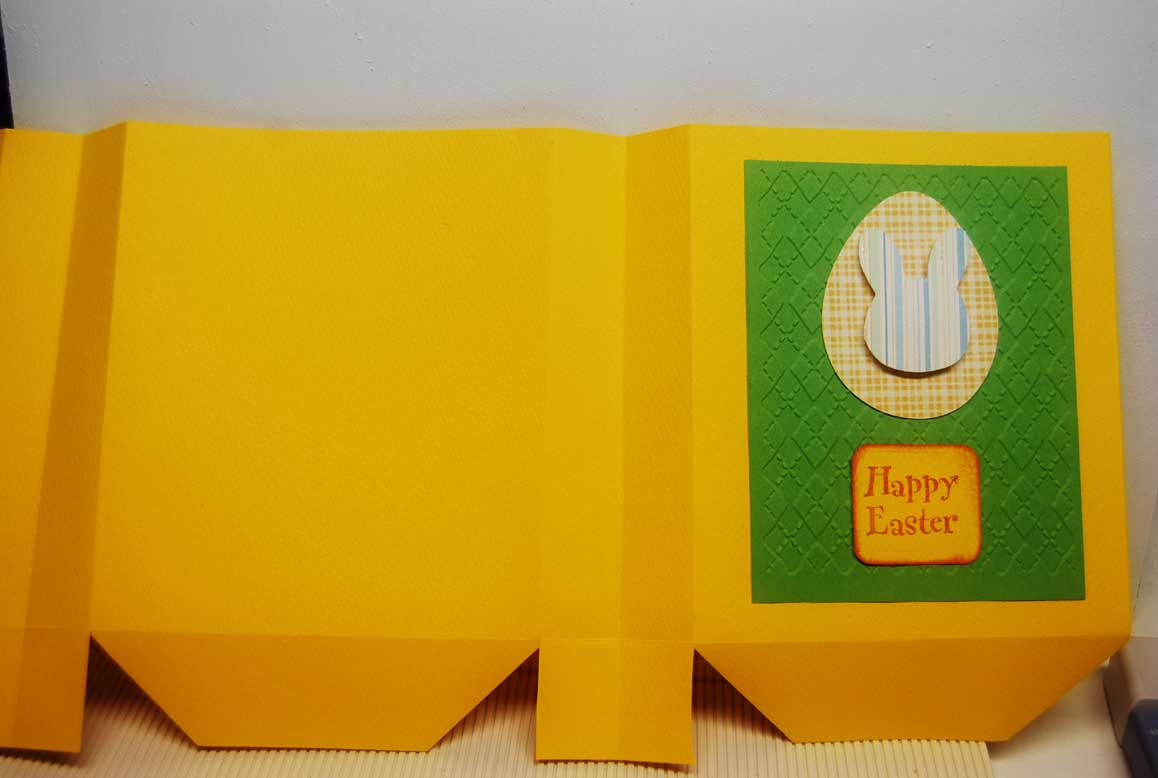
I had a bunch of left over cuts from last Easter - so I just put together some things I had in a "cut" box.

You have the option of folding in the bottom flap to make it look a little more finished.

This is what the front side looks like before it gets assembled. Decorate it before you finish your bag - it's a little easie r.

That little 1/2 inch piece, this is where you tape/glue goes.

Then you line up the little flap up - with the other end. Then you do it on the other side - to make your box.
Then you fold down the bottom of the box.


Then for the magic tape. It's red tape - it's super tacky - and it will fold the bottom well. If you use regular tape - the problem will be that it won't hold much weight.

You peel back the red tape.

Then it starts to look like a bag.

One of my favorite tools - the crop-a-dile.

I fold the bag - so the top corners matched - and punched a hole on each side. This way they are even. Then you put the eyelet in the hole - you will need four. This step is optional, I didn't do this for the teachers - because there was a whole lot of them - and I wanted it to be quick. It does make it look more finished though.

Then line up your crop-a-dile on the right settings and squeeze - and this sets your eyelet. Do this on all 4 holes.

And there you have it folks - a finished bag! I just tied ribbon to finish it up. Two equal pieces - small knots on each side. Perfect for any holiday or occasion, just decorate as appropriate.
The other nice thing is they hold cards perfectly - so if you wanted to make a bag full of cute cards to give as a gift - that would work too. I did a quick tutorial on note cards here - they would fit perfectly inside. A cute gift in probably under 15 minutes - and can most likely be done with materials you have on hand.

Linking up to these parties:
Between Naps on the Porch , Skip To My Lou, Sumo's Sweet Stuff, C.R.A.F.T. , Dittle Dattle , Making The World Cuter , The Girl Creative , Keeping it Simple , The Shabby Chic Cottage - Transformation Thursday , Somewhat Simple - Strut Your Stuff Thursday , House of Hepworths , Beyond The Picket Fence , Fireflies & Jellybeans , Tales from Bloggeritaville , Brambleberry Cottage , Gluesticks, Momnivore's dilemma, Paisley Passions, Yesterday on Tuesday, A glimps inside, Delightful Order
I am never buying a gift bag again!
ReplyDeleteThanks for linking to Creative Juice Thursday...Hope to see more of your ideas this week!