

Here is a quick and dirty tutorial on how to make these Note Cards. Don't go to the store and buy cards - these are perfect for any occasion. And they are super simple to make - and you don't need a lot of tools!
I use these paper cutter - "Carl". You can use any cutter.

 Ahhh - Paper - cardstock - lots of it!
Ok - First you need to take a single sheet of 8.5 x 11 sheet of card stock. Cut it on the 11 side in half - so at 5.5 inches. You will get two cards out of one sheet. So cut two sheets - get's you 4 (how do you like my math!)


So you have your 4 folded cards.
 Tape either the decorative paper or on the cardstock.
 Then put the decorative paper on the solid card stock.
 Yeah - mistakes happen. Sometimes it doesn't line up. If you line it up at the top where it is folded - you can cut off any of the excess.
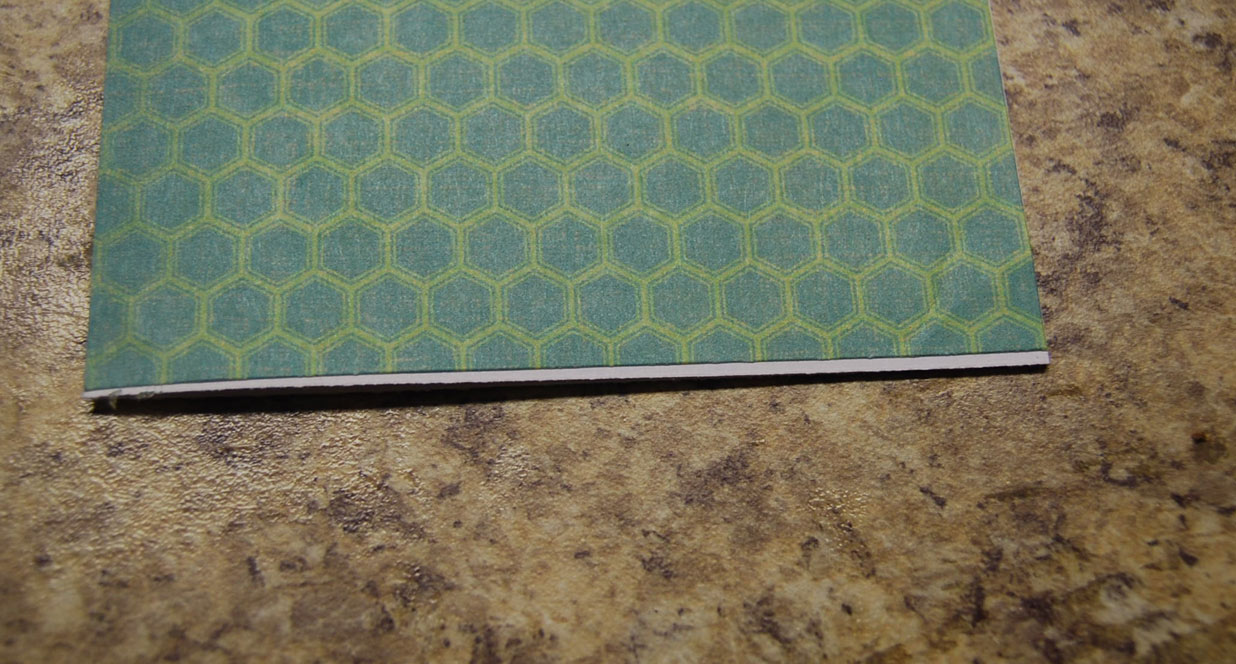 Then I like to round off the bottom corners (the non folded side - where it opens)
 Then - to make it look pretty if you are giving it as a gift. This is about 1.5 inches wide - and I think around 10-11 inches long will do it.
 Cut out some extra paper for decoration.
 And ta-da - a cute set of 4 notecards with envelopes for next to nothing - great gift for teachers, friends, families, thank you's - or just because.
This is very cute, i love giving note cards as gifts too! They usually always come in handy some or other time. Yours turned out really nice the way you "wrapped" 'em up. :)
ReplyDeleteTnx for the follow! I've followed you too, you have some interesting crafts here. :)
beautiful - i love cards (writing cards) and this is a good idea for people like me
ReplyDelete